How to Cover Paperbacks With Contact Paper
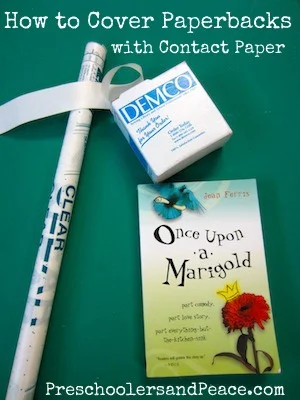
Ever wonder how to neatly and beautifully cover your paperbacks with clear contact paper? It's simple and has proven to be an excellent method for preserving our paperbacks. We had to learn out of necessity: 19 years of book collecting x 8 kids = a whole lot of well-loved books that are falling apart at the seams.
Let's get started!
You'll need:
♥ books you wish to cover
♥ a roll of clear Contact Paper
♥ label covers from Demco (optional)
♥ labels (optional)
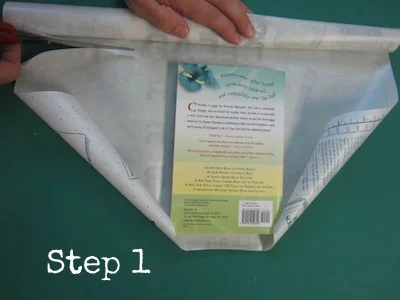
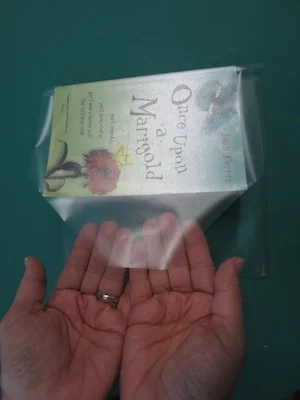
Step One: Cut out a piece of Contact paper that will adequately cover your book. I put the book, spine down, in the middle of the sheet and flop it from one side to the other to make sure the paper is large enough to cover both the front and the back of the book. Cut about an inch above the book's top and make sure you have about an inch at the bottom, as you can see in the photo.
Step Two: Peel all of the protective backing off the sticky Contact paper.
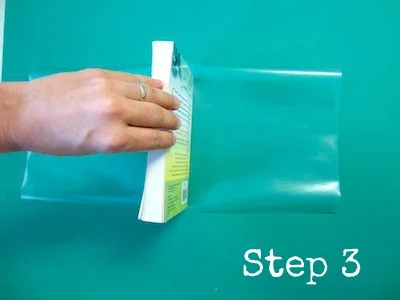
Step 3: Center your book on the Contact paper and press down so the spine is covered well with the paper. You shouldn't be able to get the paper off the spine unless you peel it off.
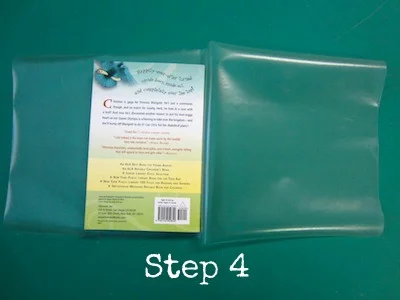
Step 4: Press the cover of the book down onto the left side of the Contact paper. When I do this, I smooth it as I go. Be sure to leave the spine attached, which shouldn't be an issue since it's sticky paper.
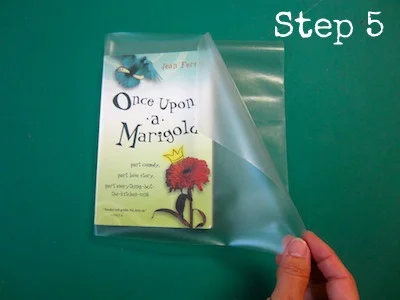
Step 5: Carefully flop the book to the right to cover the back of the book against the Contact paper. Smooth as you go.
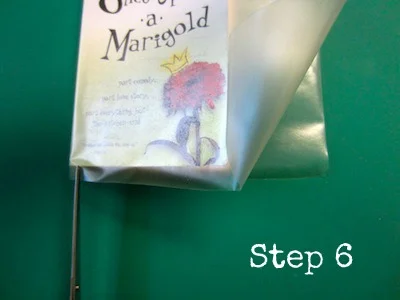
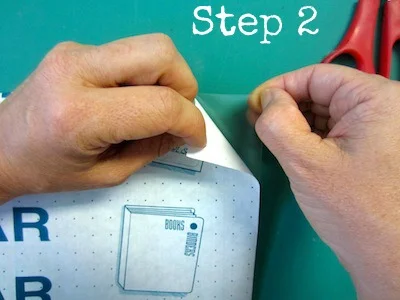
Step 6: With your scissors, make a little slit just a half inch or so from the binding edge. Stop at the book's edge. Do this on both sides- front of the book and back of the book.
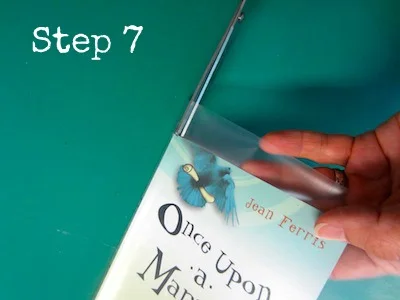
Step 7: Repeat step 6, making small slits just a half inch or so from the binding at the top of the book, cover side and back side.
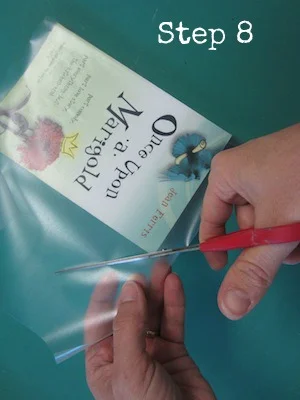
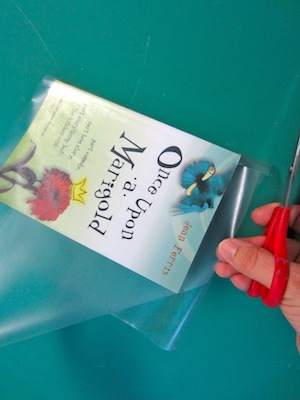
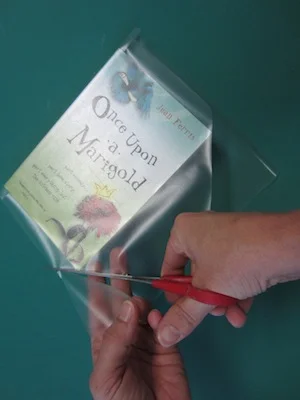
Step 8: Cut on the diagonal at each corner, front and back, top and bottom. It will look like this:
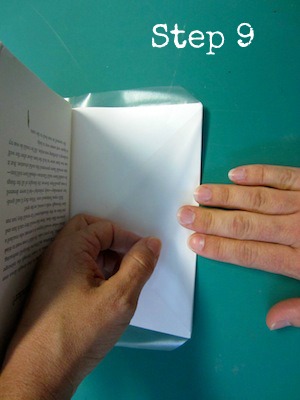
Step 9: Neatly fold your edges in and press firmly. Smooth with your fingertips.
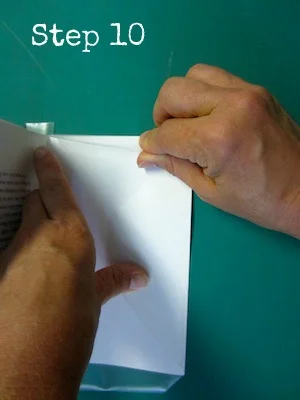
Step 10: Neatly fold in the top and bottom edges and smooth them down, too.
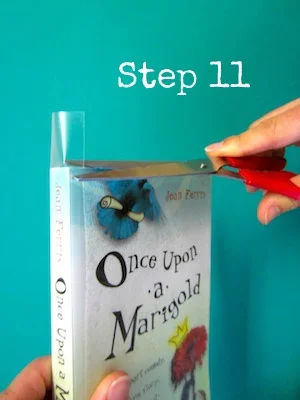
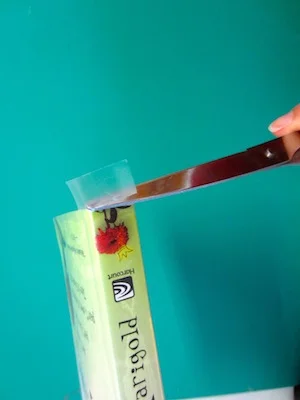
Step 11: Trim your binding edges at the top and the bottom:
You're Done!
Now, if you want to get fancy, you can make small binding labels like we have. Because we have so many books and I want my little ones to be able to put them back in the right place, we have made picture labels denoting different subjects. After applying our small picture labels, we cover them with library-quality clear labels from Demco.
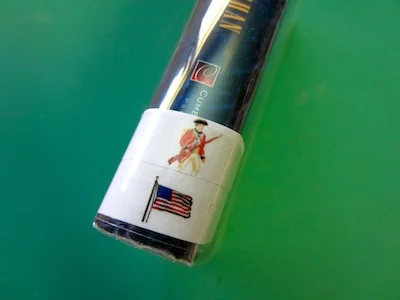
American History/The Revolution
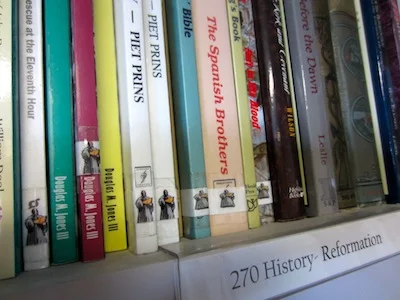
Neatly filed on the shelf with the Dewey numbering system (270 is Refomation history in general).
Enjoy!